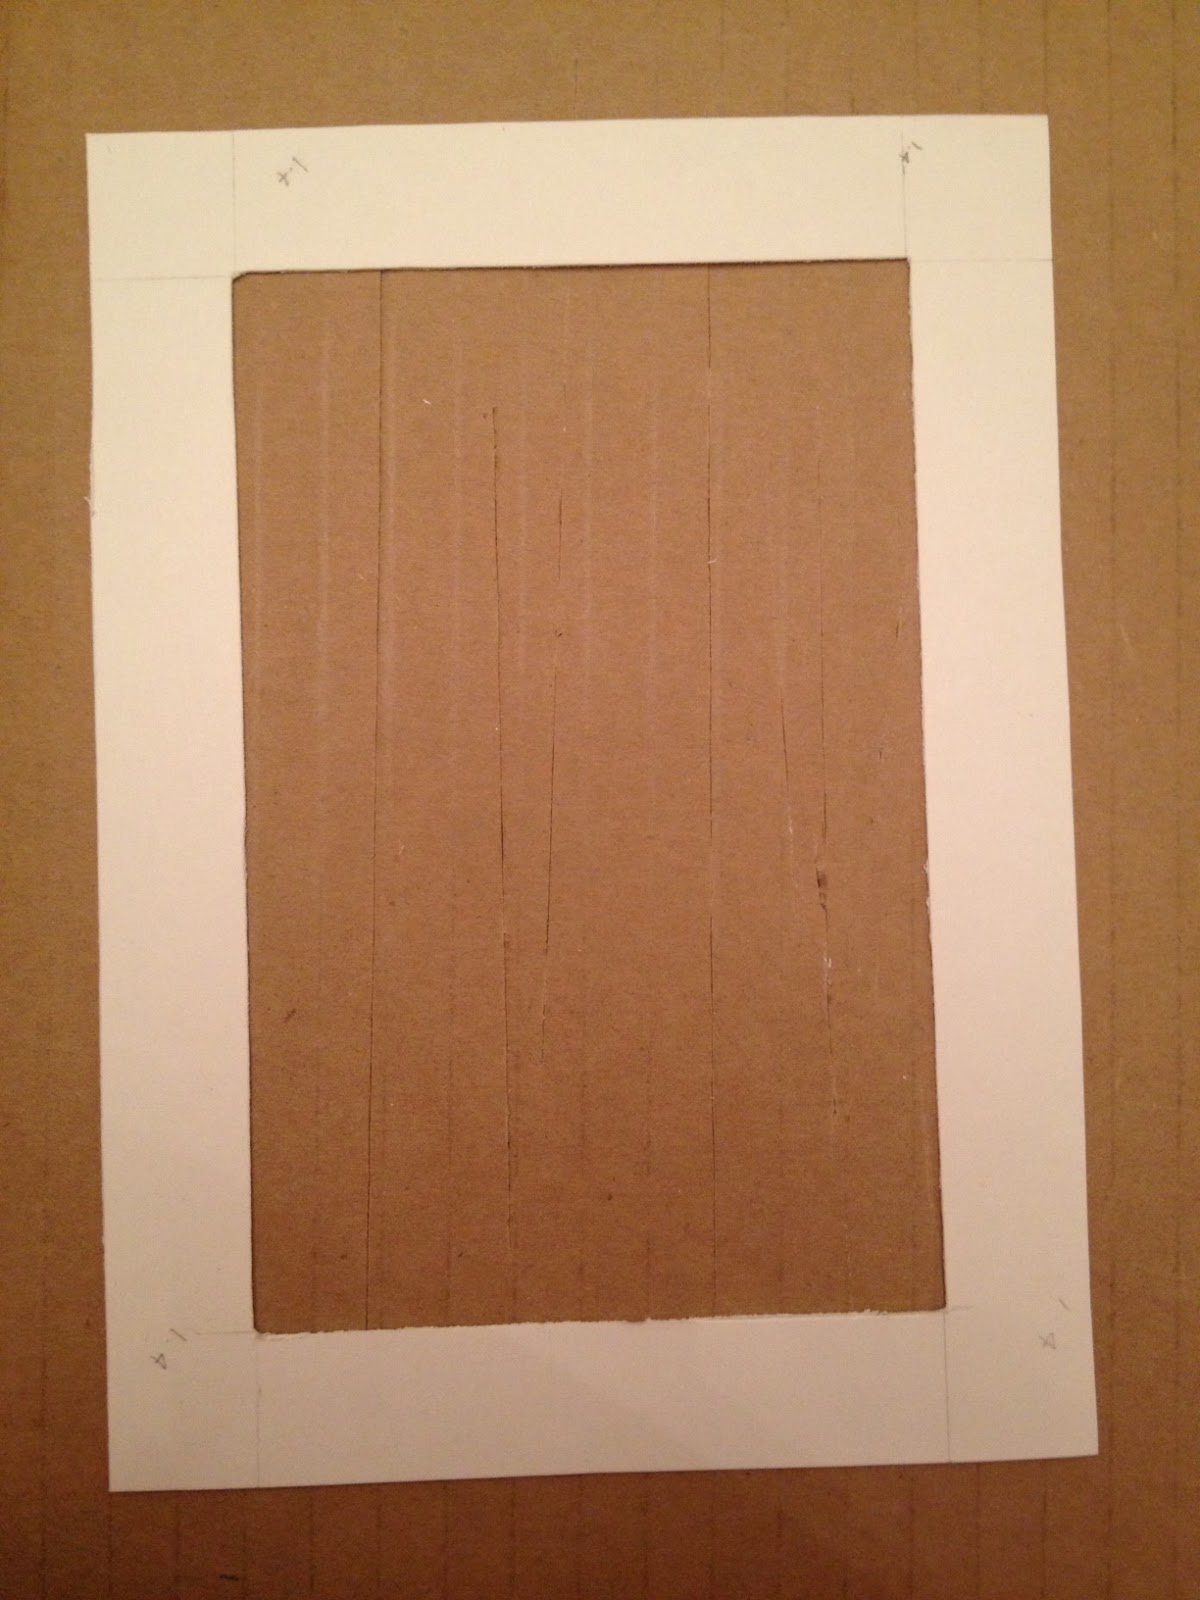
This weekend Hubs and I took to making mats for the gallery wall frames. Seeing as I bought most of them from the thrift store, mats often not included. I bought a couple sheets of bristle board for $1.25 from the dollar store and cut them to size. So really, the whole project cost $1.25. I like. Borat.
Materials needed:
- matless picture frame
- bristle board (or cardstock for smaller frames)
- scrap piece of cardboard
- ruler
- pencil
- exacto knife
- scissors
I started out by placing the glass insert onto my bristle board and tracing around it. You can't tell too well in this picture, but that's what's going on. Be careful, sharp edges! I learned the hard way. Also, remember to work on the back of the bristleboard if the two sides are different.
Cut out the traced area and measure out the "hole" that your photo will show through. To ease the process, I centred a photo of the ideal size on the cutout and measured 0.5 inch smaller, made markings and connected the dots. It's important to make the hole smaller than the photo that will be displayed so that it can comfortably sit behind the mat.
Now the tricky part. Or at least the part that I thought would be the trickiest. Actually, it's pretty easy. First, stick the cardboard under your bristle board as to not slice open whatever is underneath. In my case, the dining room table. Line your ruler up with one of the inside lines and run your exacto knife along the side of the ruler. Don't press too hard. It's better to go over it a few times with gentler cuts than rip the paper with too much blade pressure.
Repeat on the other 3 lines, giving you a pretty little cut out!
Next step is pretty obvious. Flip over your mat and stick it behind the glass. Here's a little before and after of the same frame.
The mat adds that extra oomph to the frame and highlights the picture very nicely. If you're in the same boat as me: 12345678 mats later and you're done! Hurray!
I stuck on post-its so I can easily see the new size of the frame when taking inventory.
Next up: actually getting the photos in there!!! Fiiiiiiiiiiiiiiiiiiiiiiiiiiiiiiiiiiinally. I know.
xoxo, E